
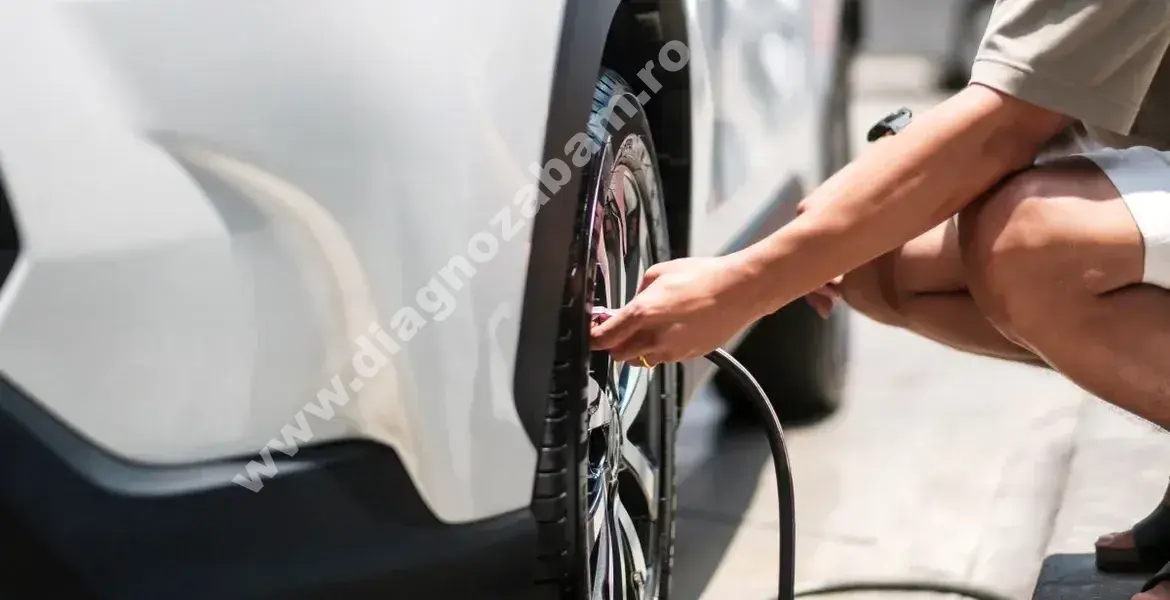
How to Check Tire Pressure: The Right Way, Step by Step
To check tire pressure correctly, measure the tires cold, use a reliable gauge and compare the reading with the value on your car’s sticker, not the number on the tire. The whole job takes about five minutes. Do it once a month and before long trips.
Most mistakes come from three things. People read the maximum pressure printed on the tire sidewall. They measure after driving, when the tires are warm. Or they trust the dashboard warning alone. This guide shows how to avoid all three.
Why Tire Pressure Matters
Tire pressure affects safety, cost and comfort at the same time.
- Braking and handling: the right pressure keeps the contact patch the correct size and shape.
- Fuel consumption: low pressure increases rolling resistance. The engine works harder.
- Tire life: wrong pressure wears the tire unevenly. For more on this, see Minimum Tire Tread Depth
- Blowout risk: an underinflated tire flexes more and heats up. At speed, this can lead to tire failure.
- Comfort: too much pressure makes the ride harsh. Too little makes the steering feel vague.
⚠️ WARNING: A tire can lose pressure slowly and look normal. Visual checks are not enough. A tire that looks “a bit soft” is already well below the correct pressure.
What You Need
- A tire pressure gauge (digital or good analog)
- An air source: a compressor at home or one at a gas station
- The recommended pressure for your car
- A valve cap if one is missing
A digital gauge is easier to read. Cheap gauges can be off by a lot, so compare yours against a second one from time to time.
Where to Find the Correct Pressure
Use the value from the manufacturer, not the one written on the tire.
- Door jamb sticker: open the driver’s door and look at the frame. This is the most common place.
- Fuel filler flap: many cars have the table inside the flap.
- Owner’s manual: it lists pressures for different loads and speeds.
- Glove box: some cars have the sticker there.
The sticker usually gives different values for the front and rear axles. It can also list a higher pressure for a fully loaded car or for sustained high speed.
ℹ️ Technical Note: The number molded into the tire sidewall is the maximum pressure the tire can handle. It is not the recommended pressure for your car. Never inflate to the sidewall number.
Understanding the Units
Pressure is shown in different units. Do not mix them up.
| Unit | Where you see it | Quick conversion |
|---|---|---|
| bar | Europe, most gas stations | 1 bar = 14.5 psi |
| psi | USA, many gauges | 1 psi = 0.069 bar |
| kPa | Some manuals | 100 kPa = 1 bar |
Example: 2.2 bar is about 32 psi and 220 kPa. Check that the gauge and the sticker use the same unit before you inflate.
When to Check: Cold Tires Only
The correct pressure on the sticker is for cold tires. A cold tire means the car has been parked for at least three hours, or it has driven less than about two kilometers.
Driving heats the air inside the tire. Hot air has higher pressure. A warm tire can read 0.2 to 0.4 bar above its cold value. If you adjust the pressure at that moment, the tire will be underinflated once it cools.
If you have to check warm tires:
- Do not release air to match the sticker. Cooling will drop the pressure by itself.
- Use the reading only as a rough check.
- Recheck cold at the first opportunity.
The Temperature Effect
Air pressure changes with the weather. As a rule of thumb, the pressure changes by about 0.1 bar for every 10°C change in temperature. Tires often lose pressure when the first cold days arrive. This is why the warning light often appears at the start of winter.
Step-by-Step: How to Check Tire Pressure
Step 1: Park on Level Ground
Park the car on flat ground. Make sure the tires are cold. Switch off the engine.
Step 2: Find the Recommended Pressure
Read the sticker. Write down the front and rear values. Check whether the car is loaded or empty and choose the correct value.
Step 3: Remove the Valve Cap
Unscrew the cap from the first tire. Keep it in a clean place so that you do not lose it or drop it in dirt.
Step 4: Press the Gauge on the Valve
Press the gauge firmly and straight onto the valve stem. Do it quickly. You should hear a short hiss and then silence. A continuous hiss means the gauge is not seated properly.
Step 5: Read the Value
Read the pressure on the display or the scale. If the gauge was not seated well, repeat the measurement. Take the reading twice if the numbers differ.
Step 6: Adjust the Pressure
- If the pressure is too low: add air in short bursts. Check after each one.
- If the pressure is too high: press the small pin in the center of the valve with the gauge tip or a small tool. Release a little air, then check again.
Go slowly. Small changes are easier to correct than big ones.
Step 7: Refit the Cap
Screw the valve cap back on. The cap keeps dirt and moisture out of the valve. A missing cap can lead to a slow leak.
Step 8: Repeat for All Tires
Check all four tires. Do not forget the spare. A flat spare is useless when you need it. Many spares need a higher pressure than the normal tires. The value is usually on the sticker or on the spare itself.
What Happens With the Wrong Pressure
| Condition | What happens | Warning signs |
|---|---|---|
| Underinflated | Edges wear faster, tire overheats, fuel use rises | Wear on both shoulders, soft steering |
| Overinflated | Center wears faster, grip falls on wet roads | Wear in the middle, harsh ride |
| Uneven left to right | Car pulls to one side | Steering pull, uneven wear |
| Uneven front to rear | Handling feels unstable | Understeer or oversteer in corners |
ℹ️ Technical Note: Underinflation is more dangerous than slight overinflation. The tire flexes more, builds heat and can fail at highway speed. If you hesitate, a slightly higher value within the manufacturer’s range is safer than a lower one.
Checking Pressure and the TPMS Warning Light
Many modern cars have a Tire Pressure Monitoring System (TPMS). The warning light looks like a flat tire with an exclamation mark.
- Steady light: one or more tires are below the threshold, often about 20% below the recommended value. Stop and check all tires.
- Light flashes for about a minute and then stays on: this usually points to a TPMS system fault, such as a failing sensor or a dead sensor battery.
The system is not a replacement for a manual check. Many systems warn only when pressure is already well below the target.
After you correct the pressure, the light may stay on. Some cars need a short drive to reset it. Others have a reset button or a menu setting. Cars with sensors in the wheels sometimes need a relearn procedure after a tire change.
If the light stays on with all tires at the correct value, scan the car. A scan tool such as the THINKCAR THINKSCAN 689BT can read TPMS-related codes. On supported vehicles it can also show the status of the system. This helps you find a faulty sensor quickly.
Special Situations
Heavy Load or Long Trips
If you carry passengers and luggage, use the higher “full load” value from the sticker. This keeps the tire stable and protects the sidewall.
Towing
Check the manual for the towing pressure. Rear tires often need extra air.
Winter Tires
Winter tires follow the same rule. Use the sticker value and check more often, because cold weather lowers pressure.
Summer Heat
Do not overinflate before a hot day “to be safe.” The pressure rises on its own when the tire warms up. Use the cold value from the sticker.
Nitrogen or Normal Air
Normal air is about 78% nitrogen already. Nitrogen can reduce pressure loss slightly, but it is not necessary. Correct pressure and regular checks matter much more.
Mistakes to Avoid
- Using the sidewall number. It is the maximum, not the target.
- Checking after driving. Warm tires read high.
- Trusting the dashboard only. It warns late.
- Forgetting the spare. It leaks too.
- Using a faulty gauge. A wrong gauge gives wrong data every time.
- Removing the valve cap and leaving it off. Dirt can cause leaks.
- Releasing air from warm tires to match the sticker. They will be too low when they cool.
- Ignoring a tire that keeps losing air. There may be a nail, a bad valve or a bent rim.
What If a Tire Keeps Losing Pressure?
A drop of about 0.1 bar per month is normal. A faster drop means a problem. Check these points:
- Look for a nail or screw in the tread.
- Spray soapy water on the tire and the valve. Bubbles show the leak.
- Check the valve core and the valve stem.
- Inspect the rim edge for corrosion or damage.
- Have the tire inspected before you drive far.
⚠️ WARNING: Do not drive on a tire with a visible bulge on the sidewall or with a deep cut. It can fail without warning. Replace it.
Quick Checklist
- Wait until the tires are cold.
- Find the pressure on the door sticker or the fuel flap.
- Check that the gauge and the sticker use the same unit.
- Measure each tire, including the spare.
- Adjust in small steps and recheck.
- Refit the valve caps.
- Use the higher value if the car is fully loaded.
- Check once a month and before long trips.
- Check again after a big temperature change.
- Scan the car if the TPMS light stays on with correct pressures.
FAQ
How often should I check tire pressure?
Check once a month and before every long trip. Also check after a big temperature drop, because cold weather lowers the pressure.
What is the correct tire pressure for my car?
It is printed on a sticker in the driver’s door frame or inside the fuel flap. The owner’s manual also lists it. Do not use the maximum pressure written on the tire.
Should I check tire pressure when the tires are hot or cold?
Cold. The values on the sticker are for cold tires. Driving heats the air and raises the reading.
Is it normal for tires to lose air?
A small loss of about 0.1 bar per month is normal. A faster drop means a leak. Check for a nail, a bad valve or a damaged rim.
Why is my TPMS light on when the pressure is correct?
The cause can be a faulty sensor, a dead sensor battery or a system that needs a reset. A flashing light that turns steady usually points to a system fault. A scan can help find the cause.
Does tire pressure change with temperature?
Yes. As a rule of thumb, it changes by about 0.1 bar for every 10°C. That is why a warning light often appears when the first cold days arrive.
Can I use the pressure from the tire sidewall?
No. That number is the maximum the tire can hold. The right value for your car is on the manufacturer’s sticker.
✍️ Author: Bejenaru Alexandru Ionut – [email protected]

Recommendation: Looking for a professional bi-directional diagnostic tool with full system coverage? Use code DIAGNOZABAM for 10% off.
Transparency note: Affiliate link. Purchasing through it costs you nothing extra. View Thinkcar Deal →