
How to Tell If Your Motherboard Is Dead (5 Definitive Tests)
A motherboard rarely announces its own death clearly. It usually just stops responding, and every other component becomes a suspect too. This guide gives you 5 specific tests, run in order, that isolate the motherboard from the PSU, RAM, GPU, and case wiring. By the end, you’ll know for certain, not just guess.
Test 1: The Paperclip PSU Test
Before blaming the motherboard, confirm the power supply is actually delivering power.
- Unplug the PSU from the wall.
- Disconnect the 24-pin connector from the motherboard.
- Find the green wire (PS_ON) and any black wire on the connector.
- Bridge them with a paperclip.
- Plug the PSU back in.
If the fan spins, the PSU produces power at idle. If it doesn’t spin at all, the PSU has failed. Stop here and replace it before testing anything else. A dead PSU produces symptoms identical to a dead motherboard.
ℹ️ Technical Note: This test confirms the PSU turns on. It doesn’t confirm stable voltages under load. If the fan spins but the system still won’t power on with everything connected, continue to the next tests rather than assuming the PSU is fully cleared.
Test 2: The Outside-the-Case Test
This single test rules out the most commonly misdiagnosed cause: a short circuit against the case.
- Remove the motherboard from the case completely.
- Place it on a non-conductive surface, like the anti-static bag it came in.
- Connect only the CPU, one RAM stick, the CPU power connector, and the 24-pin connector.
- Short the power switch pins directly with a screwdriver.
If the board powers on outside the case, it isn’t dead. Something in the case wiring or mounting is the actual fault, most often an extra standoff touching a spot with no mounting hole underneath.
If it still shows zero response outside the case, with a confirmed-good PSU, continue to the next test.
Test 3: The CMOS Reset Test
A corrupted BIOS configuration can prevent power-on entirely, mimicking a dead board.
- Unplug the PSU completely.
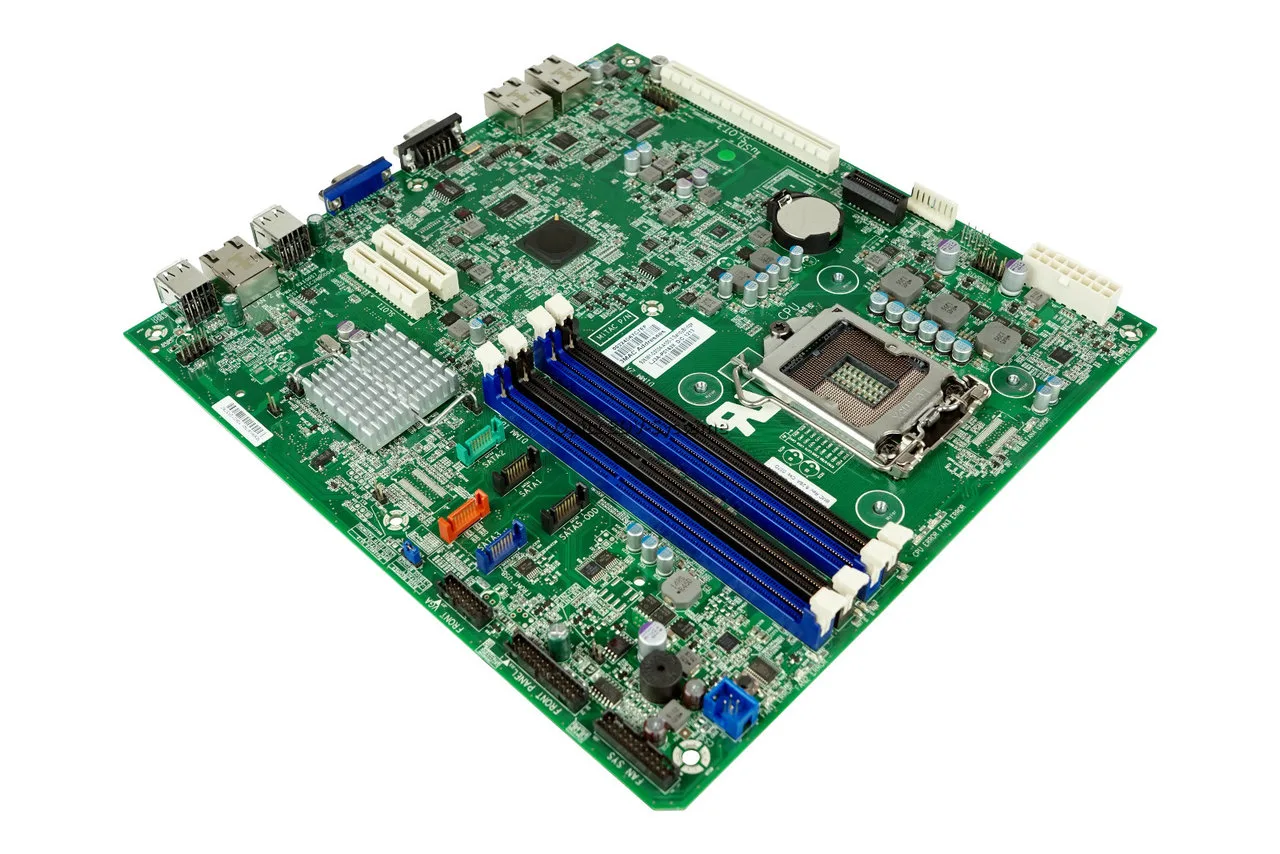
- Remove the CMOS battery (the coin-cell battery on the board).
- Wait 5 minutes.
- While it’s out, hold the power button for 10 seconds to drain any residual charge.
- Reinsert the battery and try again.
If the board now responds, a bad BIOS setting was the cause, not a dead motherboard. If there’s still no response, move to the next test.
Test 4: The Diagnostic LED and Beep Code Test
Most motherboards from the last decade include diagnostic LEDs (CPU, DRAM, VGA, BOOT) or a speaker for beep codes.
- Any LED activity at all, even if stuck on one indicator, means the board has power and is attempting to run. This points toward a specific component (RAM, GPU, CPU seating) rather than a fully dead board. Check our separate guide on beep codes for the exact pattern key.
- No LED activity of any kind, combined with a confirmed-good PSU, a clean outside-the-case test, and a CMOS reset that changed nothing, is a strong indicator the board itself has failed.
If your board has neither diagnostic LEDs nor a speaker header for beep codes, this test isn’t available. Move directly to the final visual test.
Test 5: The Visual Inspection Test
With the board still stripped down, inspect it closely under good light.
Check specifically for:
- Bulging or domed capacitors, especially near the CPU socket (VRM area). A flat top is healthy. A domed or split top is not.
- Brown or crusty residue at the base of any capacitor, which means it has already leaked.
- Burn marks or discoloration on the VRM components near the CPU socket.
- Bent or missing pins in the CPU socket, if you’re using an Intel LGA-style board.
- Scorch marks or scratches on the underside traces, often from a previous short circuit.
⚠️ WARNING: If you find bulging capacitors or burnt VRM components, stop testing. Continuing to power-cycle a board with this kind of damage risks further harm to the CPU and RAM still connected to it.
Finding any of these confirms physical failure. Finding none, after all 5 tests show no response, still points toward the motherboard as the most likely remaining cause, even without a visible smoking gun.
Reading the Results Together
| Test result | What it tells you |
|---|---|
| PSU fan doesn’t spin | PSU is dead, not the motherboard |
| Powers on outside the case | Case short circuit, not a dead motherboard |
| CMOS reset fixes it | Bad BIOS config, not a dead motherboard |
| Diagnostic LED shows activity | Board has power; a specific component is the issue |
| No LED activity anywhere, all prior tests clean | Motherboard failure is likely |
| Visible bulging capacitors or burnt VRM | Confirmed physical failure |
Before You Buy a Replacement
If all 5 tests point toward the motherboard, check warranty status first. Most boards carry 2-3 years of coverage, sometimes longer with registration, and a warranty claim costs nothing compared to a new board.
If the board is out of warranty and the only damage is a small number of bulging capacitors with no VRM burning, component-level recapping can sometimes save it for less than a replacement costs. Our separate guide on bulging capacitors covers that decision in detail, including when recapping makes sense and when replacement is simply the better call.
Quick Reference Checklist
- Ran the paperclip PSU test — fan spins?
- Tested the board completely outside the case
- Reset CMOS and retried
- Checked for any diagnostic LED or beep code activity
- Visually inspected capacitors, VRM area, and CPU socket pins
- Checked warranty status before deciding on replacement or repair
These 5 tests, run in order, take about 30 minutes and separate a genuinely dead motherboard from the far more common culprits: a failed PSU, a case short, a bad CMOS setting, or a single component that just needs reseating.
✍️ Author: Bejenaru Alexandru Ionut – [email protected]

Recommendation: Looking for a professional bi-directional diagnostic tool with full system coverage? Use code DIAGNOZABAM for 10% off.
Transparency note: Affiliate link. Purchasing through it costs you nothing extra. View Thinkcar Deal →