
Bulging/Leaking Capacitors on Motherboard: Repair or Replace?
A bulging capacitor is one of the few motherboard faults you can diagnose with your eyes alone, no multimeter required — and one of the few where the repair decision genuinely depends on the board’s age, value, and how many capacitors are affected, not just whether it’s technically fixable.
What a Bulging Capacitor Actually Looks Like
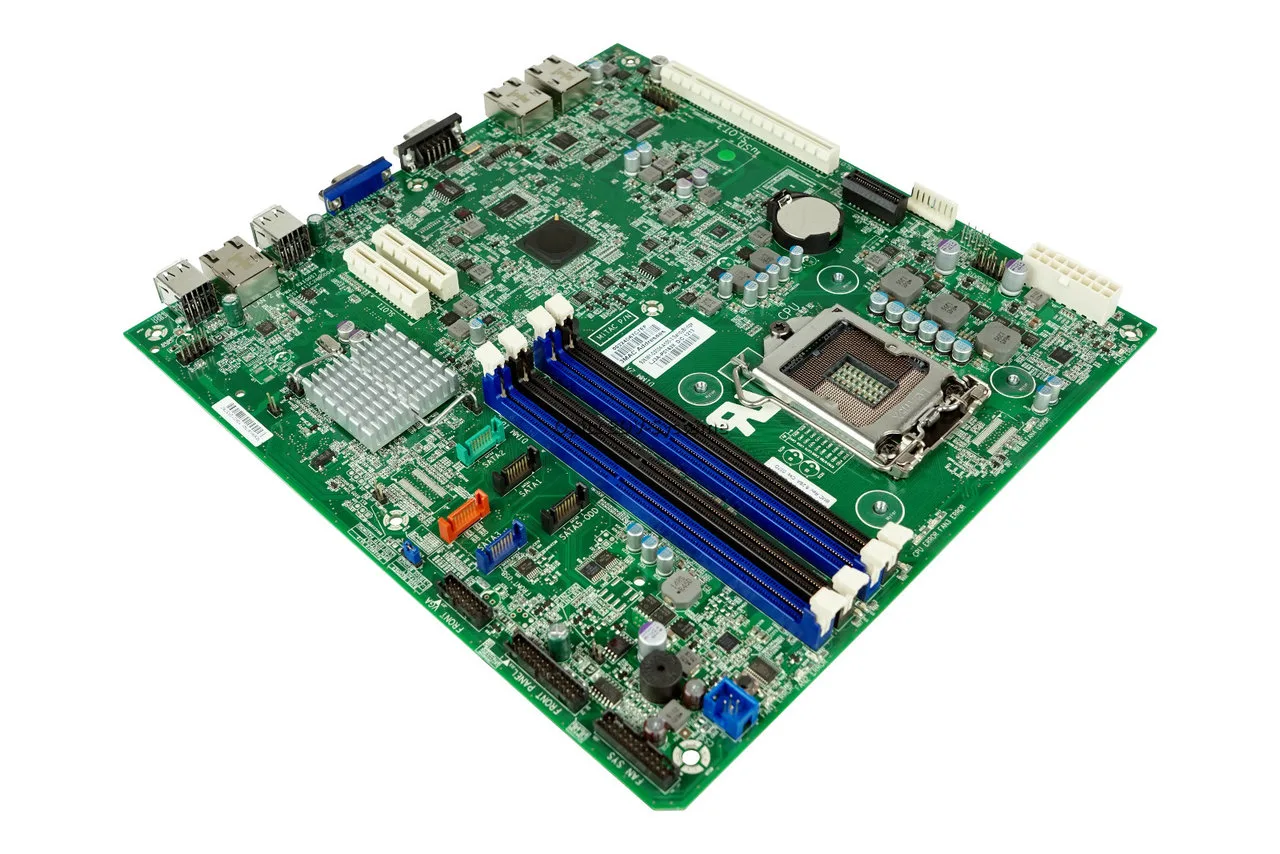
Electrolytic capacitors are the small cylindrical components clustered near the CPU socket (VRM area) and scattered across the board near power circuitry. A healthy capacitor has a flat top, sometimes with a shallow X or K-shaped scoring pattern that’s barely visible.
A failing capacitor shows one or more of these signs:
- A domed or bulging top where the flat top has pushed upward, sometimes visibly split along the scoring lines
- Brown, white, or crusty residue at the base of the capacitor or on the board surface around it — this is dried electrolyte fluid that has leaked out
- A capacitor sitting slightly crooked compared to its neighbors, sometimes from internal pressure pushing it off-center
- A rusty or corroded look to the metal top even without obvious bulging
ℹ️ Technical Note: The scoring pattern on top of a capacitor is an intentional safety vent, designed to rupture in a controlled way and release pressure before the capacitor can burst violently. A capacitor with its vent open and residue around it has already failed — it’s not a warning sign, it’s a confirmation.
Why Capacitors Fail
- Age: Electrolytic capacitors dry out over time even under normal use; 8-10+ years is a realistic point where failures increase significantly.
- Heat exposure: Capacitors near the VRM run hotter than the rest of the board, especially on systems that ran with inadequate case airflow or an undersized CPU cooler for extended periods.
- Manufacturing defects: The early-2000s “capacitor plague” affected a huge number of boards from that era due to a bad electrolyte formula used industry-wide — if you’re working on hardware from that period, widespread capacitor failure across many boards from many brands is well documented and not a coincidence.
- Voltage/current stress: Capacitors that were undersized for the VRM’s actual demands, more common on budget boards paired with power-hungry CPUs, fail faster than adequately-rated components.
Confirming Capacitor Failure Is Actually Your Symptom
Bulging capacitors often correlate with these symptoms, though correlation isn’t automatic proof — always visually confirm before assuming capacitors are the cause:
- Random restarts or shutdowns under load, especially when the CPU is working hard
- System instability that gets worse as the computer warms up during a session
- Failure to power on at all, if the failure is severe enough
- Voltage instability visible in monitoring software (fluctuating CPU voltage readings under load)
If you’re seeing these symptoms without visible bulging, don’t assume capacitors are fine just because nothing looks obviously swollen from a casual glance — pull the board fully and inspect under good light with the cooler removed for a clear view of the VRM area.
Repair Option 1: Component-Level Recapping
Replacing failed capacitors with new ones of matching voltage and capacitance rating is a legitimate, well-established repair — this is exactly how professional board-level repair shops keep older but otherwise valuable hardware running.
What it requires:
- A temperature-controlled soldering iron (a fixed-temp cheap iron risks lifting pads on multi-layer boards)
- Desoldering equipment (solder wick or a desoldering pump, ideally both)
- Replacement capacitors matching the original voltage rating (never lower) and capacitance (matching or slightly higher is generally acceptable; check manufacturer specs if uncertain)
- A steady hand and, ideally, prior soldering experience on multi-layer PCBs — motherboards have far more layers than simple hobby electronics and are less forgiving of overheating
⚠️ WARNING: Desoldering on a multi-layer motherboard carries real risk of lifting a pad or damaging an internal trace, which turns a repairable board into scrap. If you haven’t done SMD/through-hole rework on a multi-layer board before, practice on a genuinely disposable board first, or send it to a professional repair shop instead.
When recapping makes sense:
- The board is otherwise valuable — a workstation board, a discontinued model with features you specifically need, or older hardware supporting a specific legacy use case
- Only a small number of capacitors show failure, with no other visible damage (no burnt VRM components, no board damage from a prior short)
- You have the tools and skill, or access to a repair shop that charges less than a comparable replacement board would cost
Repair Option 2: Just Replace the Board
For most people, in most situations, replacement is the more sensible option:
- A replacement board with similar or better specs is often cheaper than professional recapping labor, especially for common consumer-grade boards
- Widespread capacitor failure (many capacitors, not just one or two) usually indicates the whole batch is near end-of-life — fixing the visible ones doesn’t guarantee the others won’t follow within months
- If the capacitor failure coincides with any burnt VRM components or scorch marks, the damage has likely gone beyond the capacitors themselves
Decision Table
| Situation | Recommended path |
|---|---|
| 1-2 capacitors bulging, board otherwise valuable/rare, you have soldering skill | Recap |
| Many capacitors bulging across the board | Replace |
| Capacitor failure + burnt VRM or scorch marks | Replace |
| Common consumer board, replacement is cheap and available | Replace |
| Legacy/workstation board with no modern equivalent | Recap or professional repair |
| Board is still under warranty | Claim warranty, don’t attempt any repair |
Preventing Future Capacitor Failure
If you’re replacing the board, a few habits reduce the odds of repeating this in a few years:
- Maintain adequate case airflow, particularly around the VRM/CPU socket area
- Avoid running the system in consistently high-ambient-temperature environments without adjusting cooling
- Choose boards with solid polymer capacitors where available, especially in the VRM area — they’re significantly more heat-resistant and longer-lived than standard electrolytic types, and most mid-range and higher boards use them today
Quick Reference Checklist
- Visually inspected all capacitors under good light, cooler removed
- Confirmed doming, residue, or crooked positioning — not just assumed
- Counted how many capacitors are affected (isolated vs widespread)
- Checked for burnt VRM components or scorch marks nearby
- Checked whether the board is still under warranty before doing anything else
- Weighed recap cost/skill against realistic replacement cost
A single bulging capacitor on an otherwise healthy, valuable board is a legitimate repair candidate. Widespread failure, or any sign of VRM burning alongside it, is almost always a replace-the-board situation — the visual inspection itself tells you which category you’re in before you spend money either way.
✍️ Author: Bejenaru Alexandru Ionut – [email protected]
🔗 Internal link: https://diagnozabam.ro/sfaturi

Recommendation: Looking for a professional bi-directional diagnostic tool with full system coverage? Use code DIAGNOZABAM for 10% off.
Transparency note: Affiliate link. Purchasing through it costs you nothing extra. View Thinkcar Deal →
