
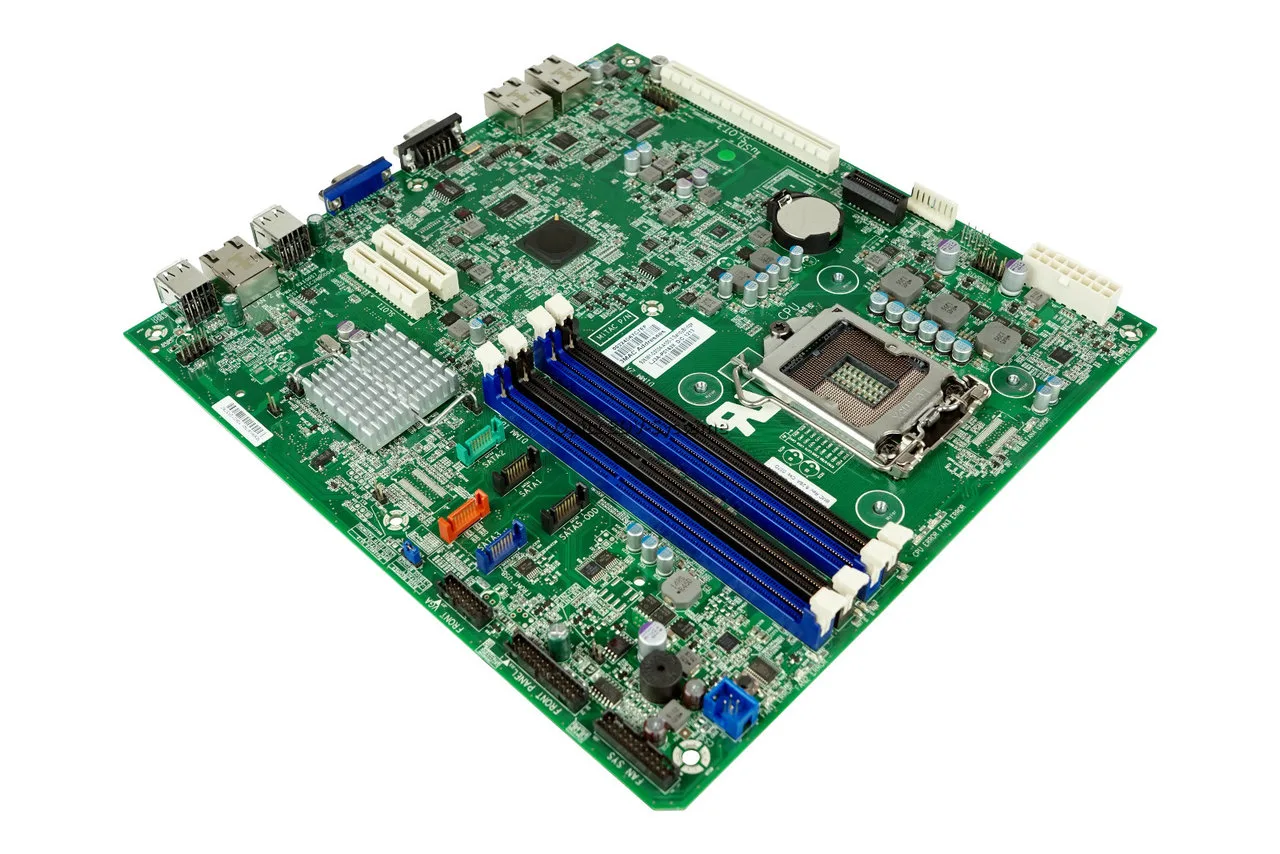
Motherboard Beep Codes: How to Isolate RAM vs. GPU Failures
Introduction
The two most frequent culprits behind a sudden Power-On Self-Test (POST) failure are system memory (RAM) and the graphics processing unit (GPU). Because both components are vital for the motherboard to hand over control to the operating system bootloader, a failure in either domain results in an identical symptom: a black screen and spinning fans. However, by listening closely to the structural cadence of your motherboard beep codes and tracking down specific bios error codes, you can determine within seconds whether your system lines are dropping due to a loose RAM stick or an unpowered PCIe graphics card.
This tactical satellite guide provides the precise technical blueprints to differentiate memory alert loops from display adapter faults across major BIOS frameworks. For general diagnostic rules or a look at processor-level errors, refer to our primary installation: [The Complete Guide for PC Hardware Diagnosis].
The Initialization Handshake: Memory Before Video
During a cold boot sequence, the motherboard logic initializes core components in a strict, linear order. The system management bus always tests and verifies structural system memory banks before it attempts to send power signals to the primary PCIe expansion slots.
Critical Isolation Matrix: RAM vs. GPU Code Rhythms
McLaren amână livrările lui Artura cu încă 4 luni pentru a îmbunătăți calitatea modelului
| Audio Alarm Blueprint | BIOS Ecosystem | Component Fault | Technical Root Cause Analysis |
| 3 Long Beeps | AMI / MSI | System RAM | System memory failed the base 64KB address readability check. |
| Continuous Long Beeps | Award / Phoenix | System RAM | No memory modules are detected, or all modules are completely unseated. |
| 1 Long + 2 Short Beeps | AMI / Award / ASUS | Graphics (GPU) | The memory controller cannot map the video ROM or talk to the PCIe bus. |
| 1 Long + 3 Short Beeps | AMI / ASUS / Gigabyte | Graphics (GPU) | An EGA/VGA DAC test failed, or physical monitor detection dropped over the cable. |
| 1 Long + 1 Short Beeps | Legacy Award | Motherboard / RAM | Severe system board logic fault or fundamental memory timing desynchronization. |
ℹ️ Technical Note: Some modern performance graphics cards feature tiny diagnostic LEDs directly above their physical 8-pin or 6-pin PCIe power socket connectors. If your motherboard outputs a GPU error beep code loop (
1 Long + 2 Short) while these power LEDs are illuminated in solid red, the issue is not a dead GPU chip; it indicates that the power supply rail is not delivering current through that specific modular cable interface.
⚠️ WARNING: System memory channels operate on tight sub-nanosecond timing tolerances. Never attempt to clear a RAM fault by forcefully pulling out or inserting modules while the power supply toggle switch is left in the ON (I) position. Doing so risks sending an instantaneous electrical voltage spike across the unaligned gold trace fingers, which can fuse the delicate memory bus lanes and permanently destroy the motherboard’s built-in memory controller circuitry.
Hardware Isolation Testing: Step-by-Step Field Guide
If your motherboard sound signals are cycling indefinitely, use this technical isolation procedure to pinpoint the exact physical module causing the boot failure:
[Extract Modules] ──► [Clean Traces with Eraser] ──► [Test Single Stick in Bank A2]
Phase 1: Cleaning and Re-Seating the System Memory Bus
-
Total Power Drain: Disconnect the wall AC cord. Hold down the physical chassis power button for 15 seconds to discharge the capacitors.
-
Extract the Modules: Press down on the plastic retaining clips at the edges of the DIMM slots and lift the RAM sticks vertically out of their banks.
-
Trace Maintenance: Inspect the gold contacts along the base of the RAM sticks. Take a clean, soft pencil eraser and rub it gently across the gold contact fingers on both sides to erase microscopic surface oxidation layers. Clean away any residual eraser dust using a clean brush.
-
Single-Channel Testing: Insert only one single stick into the primary slot designated by your motherboard manufacturer (almost universally labeled DIMM_A2 or Slot 2 from the CPU socket). Ensure both end clips snap shut with a distinct mechanical click.
-
Test Boot: Attempt to power on the system. If it boots successfully, your slot logic is sound. Repeat this isolated step with your secondary stick to rule out an individual module failure.
Phase 2: Resolving Graphics Interface Deadlocks
If your motherboard emits a display error tone loop (1 Long + 2 or 3 Short), isolate the graphics hardware layer using this checklist:
-
De-stress the PCIe Slot: Heavy modern graphics cards can slowly sag under their own weight, causing the high-density data pins at the rear of the PCIe x16 slot to lose alignment. Unscrew the rear bracket mount, release the plastic lock lever at the base of the slot, and slide the GPU completely out.
-
Verify Auxiliary Power Lines: Unplug the 6+2 pin power connectors from the card. Inspect the plastic housings for signs of thermal warping or pushed-out metal pin terminals. Reinsert them firmly until the plastic clips lock down.
-
Test Integrated Graphics Bypass: If your processor contains integrated graphics, remove the dedicated GPU entirely, plug your HDMI or DisplayPort cable directly into the motherboard back I/O shield, and boot. If the beep codes clear, your dedicated graphics card or its power rail is the definitive point of failure.
Summary Conclusion
Using motherboard beep codes to differentiate between RAM and GPU blockages prevents you from wasting hours tearing down the wrong hardware subsystem. Once your system memory arrays pass their read-write handshake and the PCIe bus registers an active video ROM signature, your system will clear its alert phase and initiate a normal system boot.
✍️ Author: Bejenaru Alexandru Ionut – [email protected]
🔗 Internal link: https://diagnozabam.ro/sfaturi
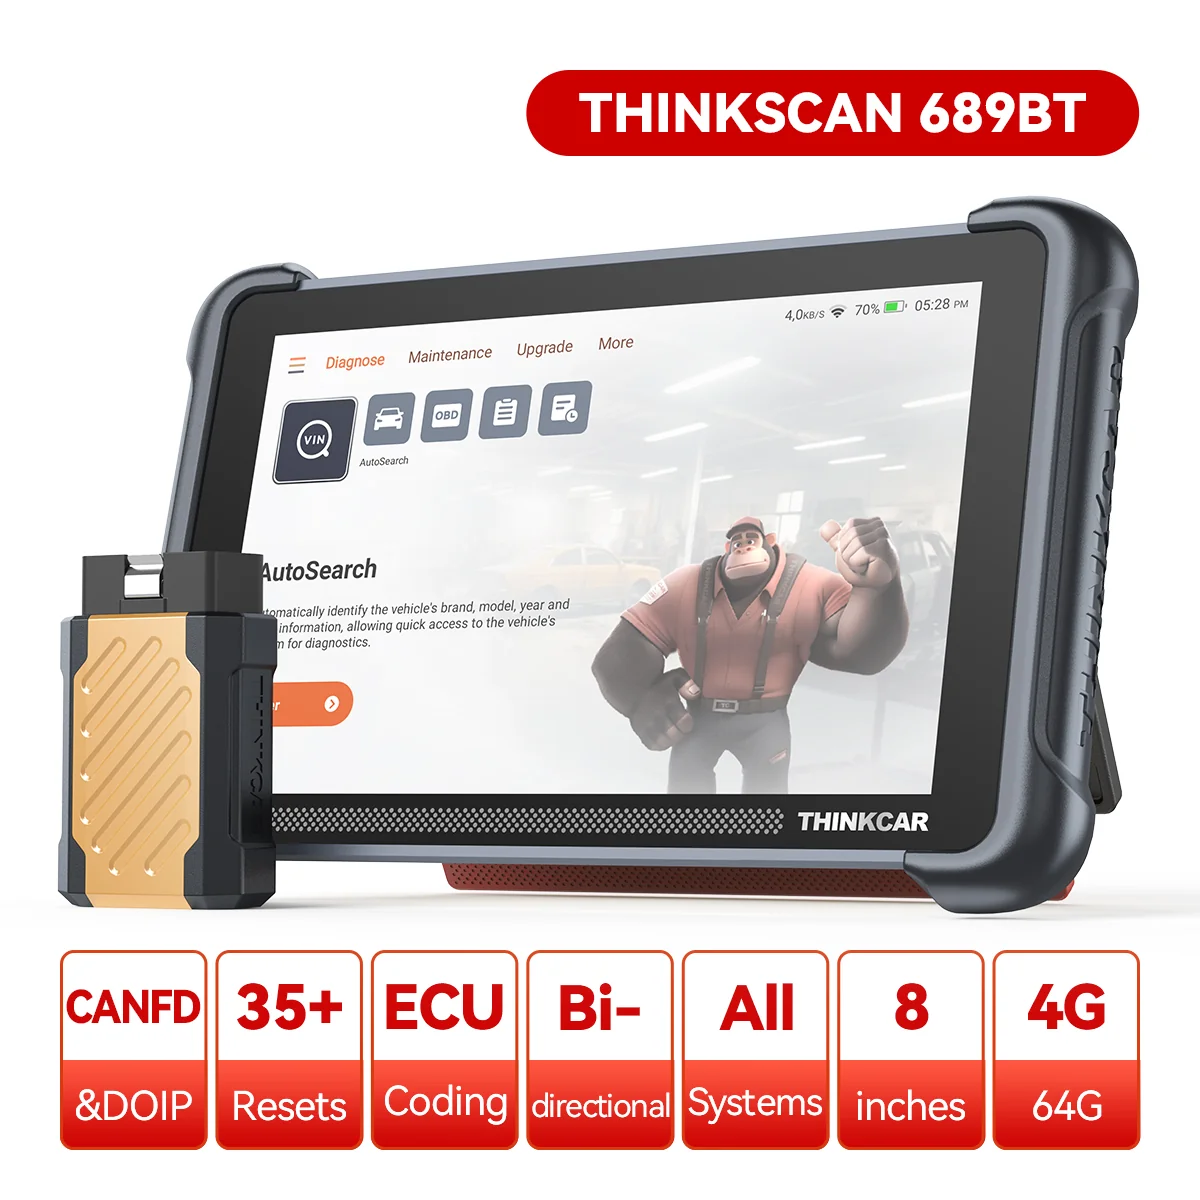
Recommendation: Looking for a professional bi-directional diagnostic tool with full system coverage? Use code DIAGNOZABAM for 10% off.
Transparency note: Affiliate link. Purchasing through it costs you nothing extra. View Thinkcar Deal →