
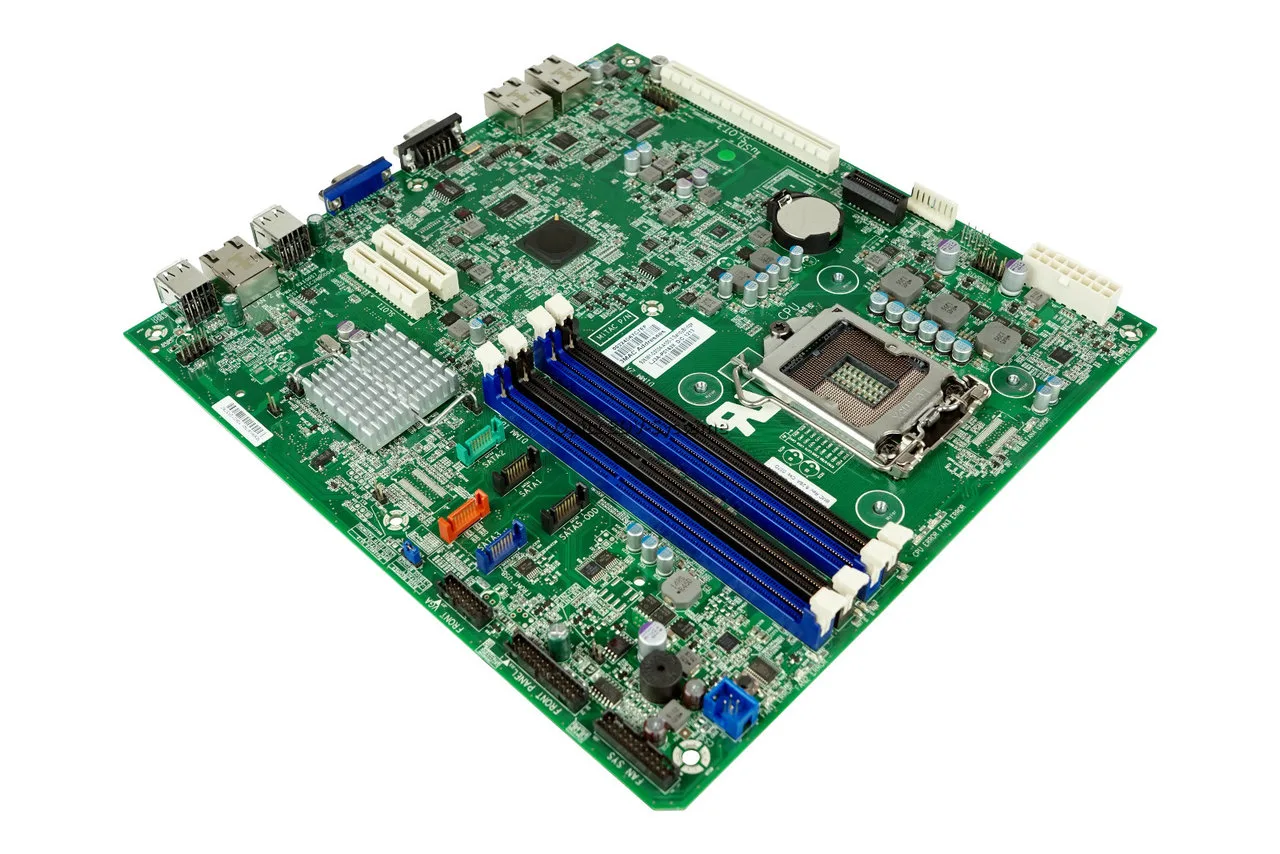
Toshiba and Fujitsu Laptop Beep Codes: Diagnostic & Repair Manual
Introduction
Diagnosing a hardware failure on a mobile platform requires a highly specific approach compared to modular desktop towers. When a Toshiba (Dynabook) or Fujitsu Lifebook laptop refuses to complete its Power-On Self-Test (POST) and outputs an audio loop, the embedded system controller is signaling a component lockout. These legacy and enterprise laptop lines primarily employ customized Phoenix BIOS or specialized proprietary firmware architectures.
This satellite guide decodes the critical toshiba beep codes and fujitsu beep codes driving your boot loops. For foundational PC board sound testing, refer directly to our master document: [The Complete Guide for PC Hardware Diagnosis].
The Laptop Power and Initialization Sequence
Laptops route power through intricate charging ICs and embedded controllers (EC) before the BIOS initializes the main system memory and graphics pipelines.
Mobile Diagnostic Matrix: Toshiba & Fujitsu Systems
| Audio Pattern (Sequence) | Platform Affected | Primary Technical Cause | Corrective Field Action |
| 3 Short Beeps | Toshiba / Fujitsu | System Memory (RAM) Check Failure | Reseat memory modules. Clean SODIMM slot contacts with isopropyl alcohol. |
| 1 Long + 2 Short | Toshiba / Dynabook | Video Controller / LCD Panel Link Fault | Internal eDP/LVDS ribbon cable is loose or the integrated GPU has overheated. |
| 1-3-1-1 (Patterned) | Fujitsu (Phoenix BIOS) | DRAM Refresh Error | System cannot refresh memory lines. Swap the SODIMM module into the secondary slot. |
| 2-1-2-3 (Patterned) | Fujitsu (Phoenix BIOS) | BIOS ROM Checksum Corruption | Firmware is corrupted. Perform a crisis recovery flash via an external USB drive. |
| Continuous Short Beeps | Toshiba / Fujitsu | Stuck Keyboard Array / Controller Fault | A key is stuck down during POST, or the keyboard ribbon cable has experienced a liquid short. Disconnect internal keyboard and retest. |
ℹ️ Technical Note: Unlike desktop boards, a dying battery can halt the POST process on Toshiba and Fujitsu laptops completely. If the Real-Time Clock (RTC) auxiliary cell—often wrapped in yellow or black insulation tape beneath the main battery housing—drops below 2.5V, the system may throw continuous, erratic beep patterns or refuse to save hardware initialization configurations.
⚠️ WARNING: Before opening any laptop casing to clear memory or check ribbon connections, you must completely isolate the system. Unplug the AC adapter and physically disconnect the internal battery link from the motherboard. Failing to disconnect the battery before reseating memory modules or LCD cables can blow the microscopic backlight fuse on the board due to residual voltage rails.
Forcing a Hard EC and CMOS Reset on Laptop Hardware
When unstable power states or failed hardware handshakes generate infinite laptop error loops, a hard Embedded Controller (EC) clear can resolve the freeze:
-
Total Isolation: Disconnect the charging brick, external peripherals, and unclip or unscrew the primary internal battery.
-
Drain Capacitors: Press down and hold the physical Power Button for 30 to 45 seconds. This discharges the remaining field-effect transistors (FETs) and forces the EC back to its baseline logic state.
-
Expose the RTC Cell: If accessible through a service door, un-plug the small 2-pin CMOS RTC wire connector for 60 seconds, then reconnect it.
-
Minimal Configuration Boot: Connect the AC adapter without the primary battery installed, and attempt to fire up the system. If successful, enter the BIOS utility to recalibrate the system clock.
Summary Conclusion
Resolving laptop motherboard alert tones requires systematically isolating modules like RAM sticks and keyboard matrices. If the system continues to beep even under minimal configuration, the issue is typically a surface-mounted component failure within the onboard power delivery lines.
✍️ Author: Bejenaru Alexandru Ionut – [email protected]
🔗 Internal link: https://diagnozabam.ro/sfaturi
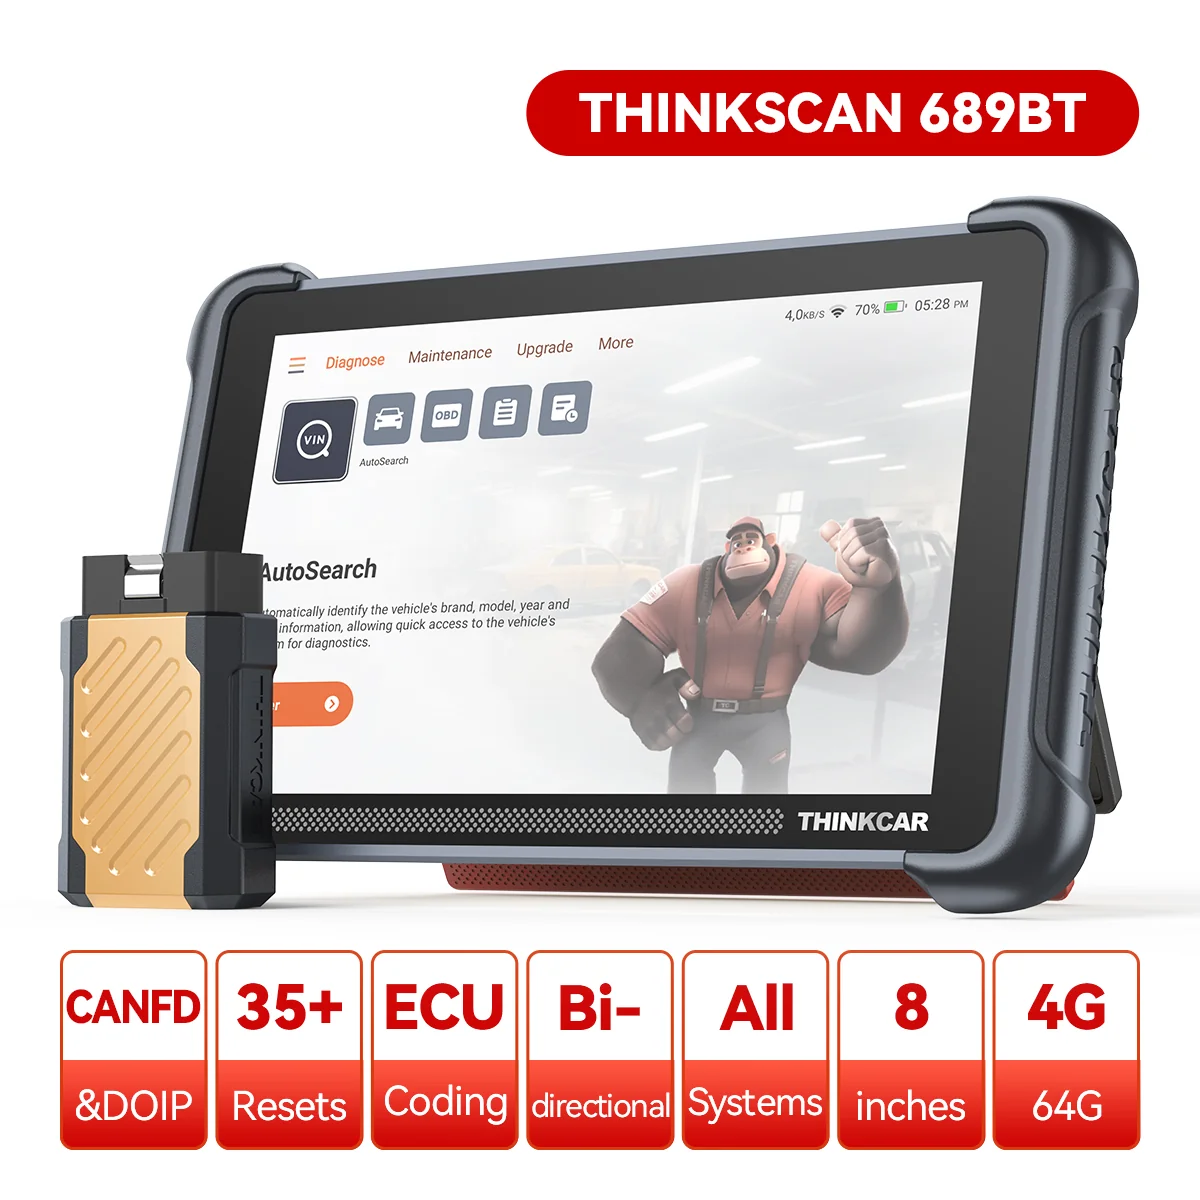
Recommendation: Looking for a professional bi-directional diagnostic tool with full system coverage? Use code DIAGNOZABAM for 10% off.
Transparency note: Affiliate link. Purchasing through it costs you nothing extra. View Thinkcar Deal →